Installation Instruction Mugen SS for Acura RSX / Honda DC5
Mugen Sports Suspension
Part # 50000-XK5-K0S0
newer version, discontinued
# 50000-XK5-K1S0
INTEGRA TYPE R DC5
Front 120 / 135 49.6 (45.1)
Rear 118 / 100 80.4 (72.5)
Front & Rear drop -1.5inch
TOOLS, necessary:
- gloves
- jack and jack stands
- 10, 12, 14, 17, 19, 21, 22 nuts
- 14mm wrench, maybe some kind of
pipe for extra leverage
- needle nose pliers
- torque wrench
- tie-rod separator
I used few more:
INSTRUCTION
1. Order Mugen SS and wait for the
package:)
2. Enjoy :)
REAR
3. Jack up the car and remove the
wheel. Secure it with jack stand. I also use wheels to be safe.
4. Remove or bend trim piece, you
will need to remove one or two clips.
5. Remove two 14mm nuts that hold
the strut, I used pipe to extend leverage on wrench, it was much easier.
6. Remove the bolt 19mm from the
bottom of the damper. I had to use my jack to move strut a little.
7.
Install Mugen strut. Make sure white dot faces towards the center of the
car.
FRONT
8. Jack up the car and remove the
wheel. Secure it with jack stand. I also use wheels to be safe.
9. This is the hardest part, at least
it was for me. Remove cotter pin and the tie-rod end ball joint. I used impact
wrench for socket, but I wasn't able to remove tie-rod bolt. I had to use rust
penetration spray and hammer that bolt really hard messing up thread little
bit. There is special tool tie-rod separator for this kind of job but I didn't
have it.
10. Remove the wheel sensor 10mm and
brake line harness 12mm
11. Remove two bolts that hold the
strut, 22mm and 19mm
12. Remove 3 nuts 14mm that secure
the top of the damper
13. Remove old damper and install
Mugen
14. Use new 14mm nuts and cotter pin
provided my Mugen.
15. Check everything and tighten the
nuts.
Time
3 hours by yourself or 4 with fiance
;)
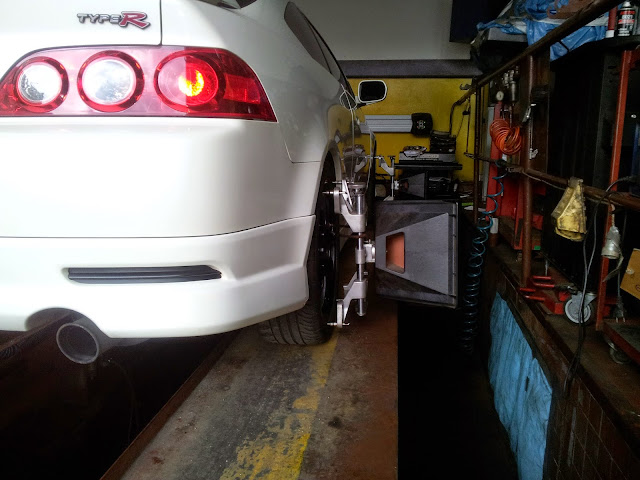
Wheel Alignment
After you finish installation get wheel alignment as soon as possible. My rear was ok, but front was a little bit off.


